
You’ve found the perfect piece of art, bought the right frame, and you’re ready to hang it. You measure, you mark, you hammer the nail… and step back to realize it’s way too high. Or too low. Or just somehow wrong even though you can’t quite put your finger on why.
Sound familiar? Picture hanging seems simple, but getting the height exactly right is surprisingly tricky. Hang art too high and your room feels disconnected and awkward. Too low and it looks like an afterthought. But when you nail the perfect height? Your walls look professionally designed and your entire room feels more polished.
The good news: there’s actually a foolproof formula that designers use every single time. No more guessing, no more multiple nail holes, and definitely no more crooked pictures that haunt you every time you walk by. Let’s break down the exact measurements and techniques that guarantee perfect picture placement.
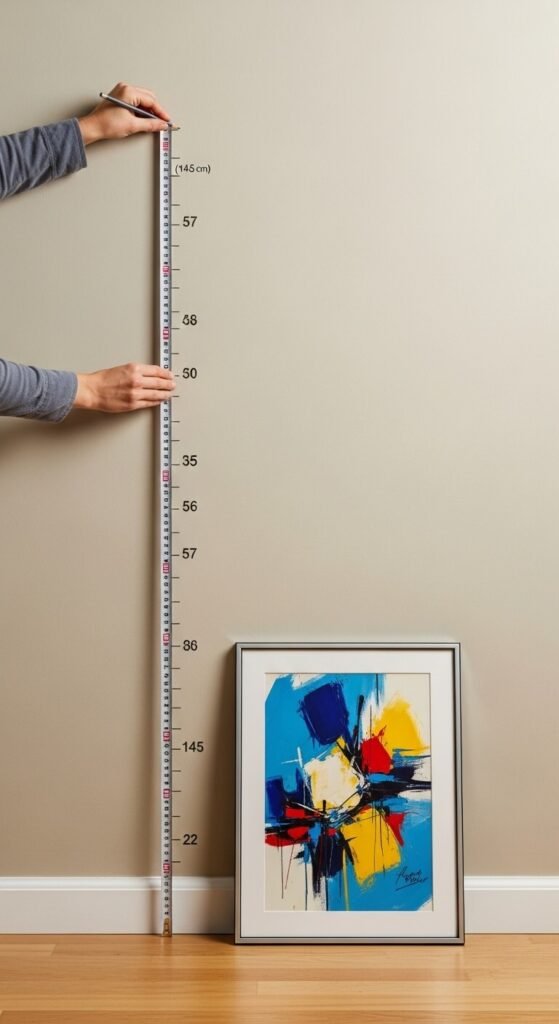
Master The 57-Inch Rule (Your Foundation)
This is the golden rule of art hanging, and once you know it, you’ll never forget it. The center of your artwork should be 57 inches from the floor to the center of the frame.
Why 57 inches?
- It’s the average human eye level
- Museums and galleries use this standard worldwide
- Creates visual harmony that feels “right” to most people
- Works in rooms with standard 8-9 foot ceilings
This measurement creates the sweet spot where art feels naturally positioned—not floating toward the ceiling or hugging the baseboard. It’s the Goldilocks zone that makes your walls look professionally curated.
Exception: If everyone in your household is significantly taller or shorter than average, you can adjust by 2-3 inches in either direction. But for most people, 57 inches is perfect.
Calculate From The Center, Not The Top
Here’s where people mess up: they measure 57 inches and put the nail there, forgetting that 57 inches is to the center of the artwork, not the top hook.
The math you need:
- Measure your frame’s total height
- Divide by 2 to find the center point
- Measure from the top of the frame down to where the hanging wire or hook sits when pulled taut
- Subtract that distance from your center point
- That’s where your nail goes
Example:
- Frame height: 24 inches
- Center point: 12 inches from top of frame
- Wire hangs 2 inches from the top when taut
- 57 inches (ideal center) + 12 inches (half the frame) – 2 inches (wire position) = 67 inches from floor to nail
Math not your thing? Don’t worry—there’s a simpler method coming up.

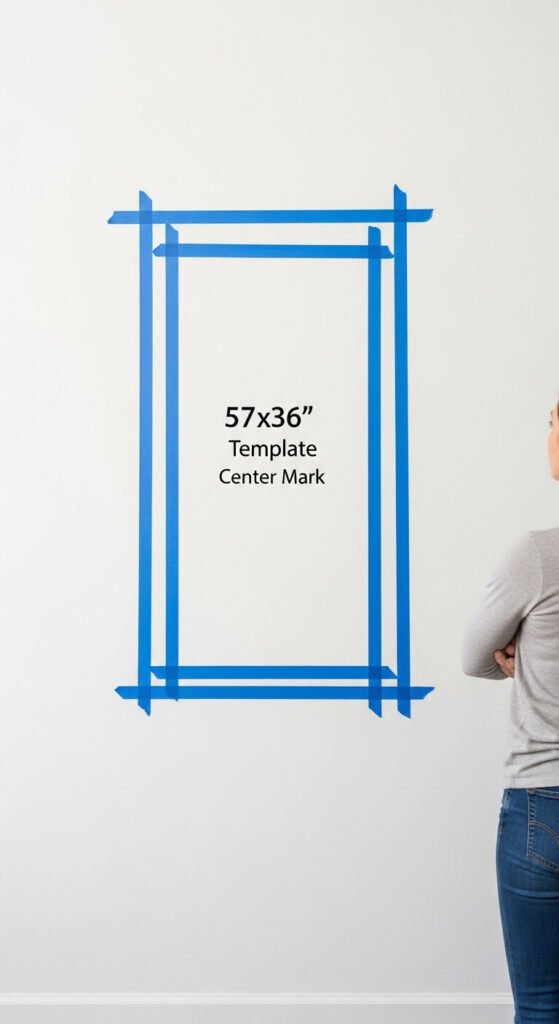
Use The Tape Template Trick (No Math Required)
If calculations make your head spin, this hands-on method is foolproof and requires zero math while guaranteeing perfect placement.
Step-by-step template method:
- Cut painter’s tape to match your frame’s height and width
- Arrange the tape on the wall in a rectangle where you want the art
- Step back and evaluate—is it at the right height?
- Adjust the tape until it looks perfect
- Mark the top center of your tape rectangle
- Place your frame face-down on the floor
- Pull the hanging wire taut as it would hang
- Measure from the top of the frame to the taut wire
- Measure that distance down from your mark on the wall
- That’s where your nail goes
This visual method lets you see exactly where the art will sit before you commit to a nail hole. You can easily adjust and experiment without damage.
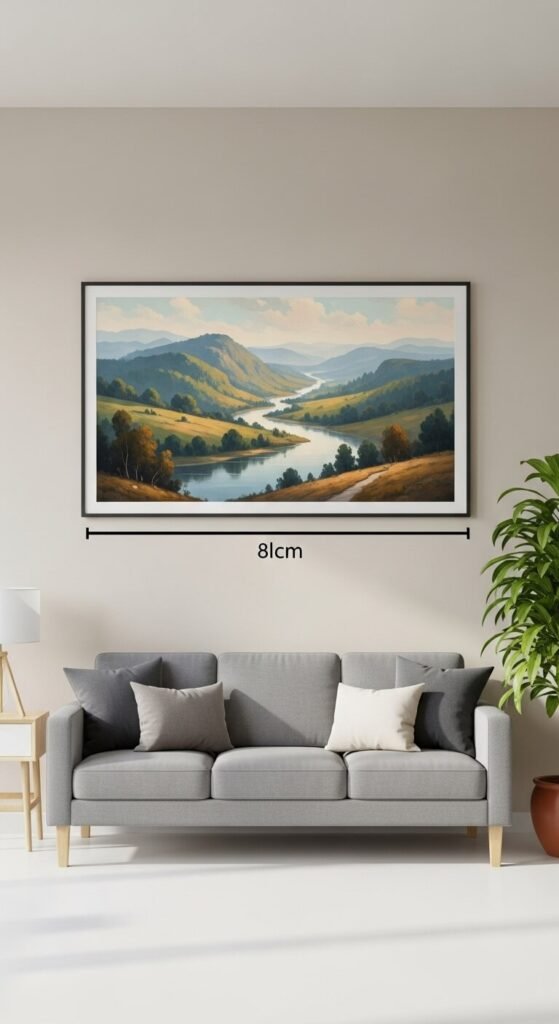
Adjust For Furniture (The 6-8 Inch Rule)
The 57-inch rule works great for standalone walls, but when hanging art above furniture, different rules apply to create proper visual connection.
Furniture-specific guidelines:
Above a sofa:
- Bottom of frame should be 6-8 inches above the sofa back
- Art should span 2/3 the width of the sofa (not wider)
- For sectionals, art should relate to one section, not the entire piece
Above a console table or dresser:
- Bottom of frame 6-10 inches above the furniture
- Art should be 1/2 to 2/3 the width of the furniture
Above a bed:
- Bottom of frame 8-12 inches above the headboard
- Art centered horizontally on the bed, not the wall
Above a fireplace:
- 4-6 inches above the mantel
- Centered on the fireplace, not the entire wall
These measurements ensure your art relates to the furniture beneath it rather than floating awkwardly above like it’s trying to escape.
Create Gallery Walls With The 57-Inch Center Rule
Gallery walls follow the same principle, but applied differently. The center point of your entire gallery wall arrangement should be at 57 inches, not each individual piece.
Gallery wall approach:
- Lay out your entire arrangement on the floor
- Measure the total height and width of the complete layout
- Find the center point of the entire arrangement (not individual pieces)
- That center should be at 57 inches when hung
- Use the tape template method for the full arrangement
- Mark positions for all frames before hammering
Within the gallery wall:
- Space frames 2-3 inches apart consistently
- Vary frame sizes but keep spacing uniform
- Start with the largest piece as your anchor
- Build outward from there
The 57-inch rule keeps your gallery wall grounded at proper eye level even when individual pieces vary in height and placement within the grouping.
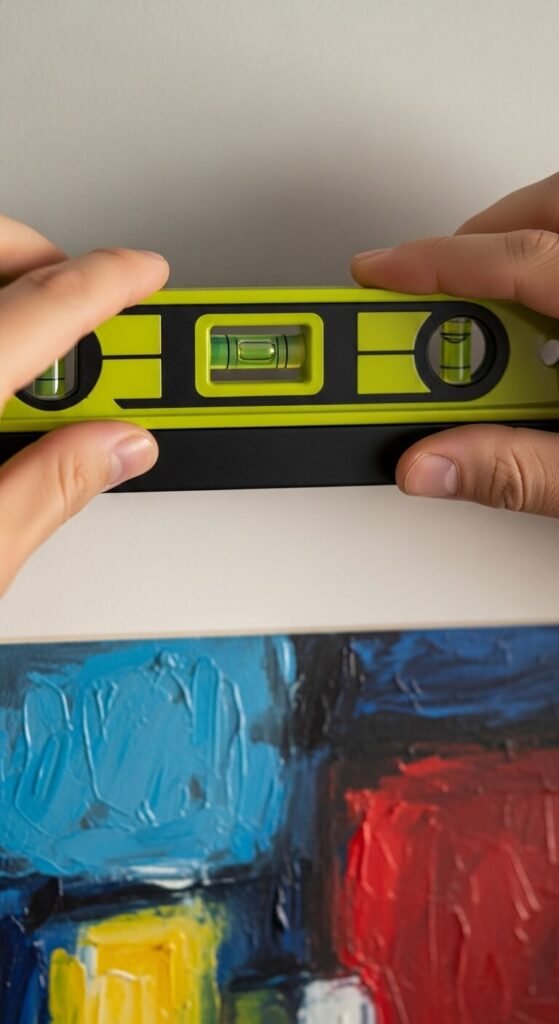
Use A Level (And Trust It)
This seems obvious, but it’s worth emphasizing: always use a level, and believe what it tells you even when your eyes disagree.
Level wisdom:
- Use a laser level for multiple frames
- Small bubble levels work for single frames
- Check level after hammering (nails can shift)
- If a picture looks crooked but the level says it’s straight, your floor or ceiling might be uneven—trust the level
Pro tip: Take a photo of your hanging attempt and look at it on your phone. Photos reveal if something is off in ways your in-person eye might miss because you’re too close to the situation.
Account For Ceiling Height Variations
Standard ceiling height is 8-9 feet, but if yours differ, adjust your hanging height accordingly to maintain proper proportion.
Ceiling-specific adjustments:
Low ceilings (7-8 feet):
- Lower art by 3-5 inches (aim for 54 inches to center)
- Prevents art from feeling crammed toward the ceiling
- Creates better proportion in compressed space
High ceilings (10+ feet):
- Can raise art by 2-4 inches (up to 60 inches to center)
- Or hang multiple pieces vertically to fill space
- Maintain relationship to furniture rather than ceiling
Vaulted ceilings:
- Focus on the furniture relationship, not the ceiling
- 57-inch rule still applies on the wall itself
- Don’t try to center art in the entire vaulted space
The key is maintaining that comfortable eye-level viewing position regardless of what’s happening overhead.
Handle Special Situations (Stairs, Corners, Hallways)
Some spaces require modified approaches. These tricky areas have their own rules that still respect the core principles.
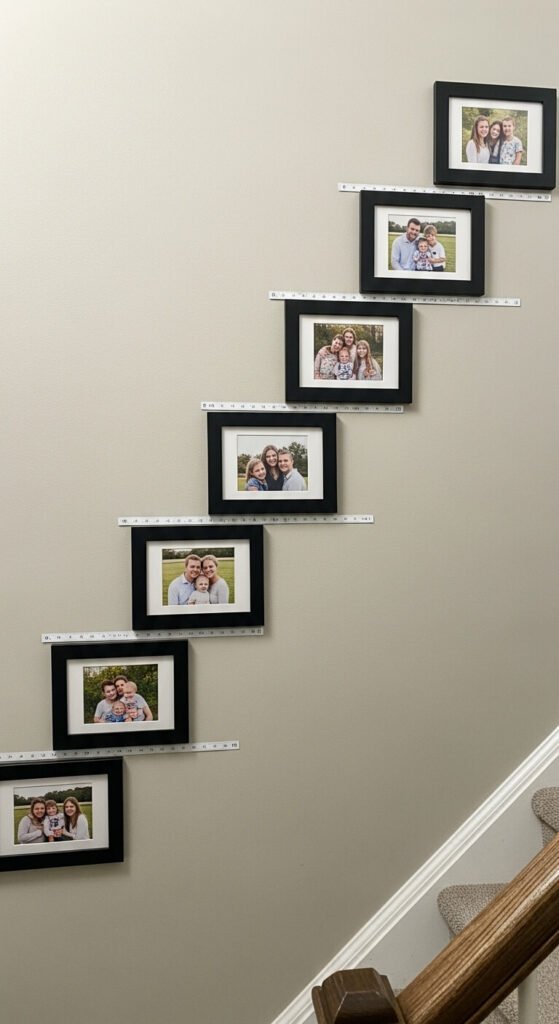
Stairway walls:
- Maintain consistent height from the stair tread (not the floor)
- Measure 60-65 inches from each stair step to the center of frames
- Creates a diagonal line that follows the stairs
- Alternatively, create a straight horizontal line along the angle
Narrow hallways:
- Use the standard 57-inch rule
- Ensure frames don’t protrude too far (use thin frames)
- Leave adequate walking space
- Consider a vertical arrangement of smaller pieces
Corner spaces:
- Measure 57 inches on the longest wall section
- Art should “read” from the main room entrance
- Don’t try to center it in the corner itself
Small wall sections:
- Scale down frame size rather than adjusting height
- Maintain the 57-inch center for visual continuity
These spaces require thoughtfulness, but the same fundamental principles apply—just adapted to the specific challenge.
Avoid These Common Picture-Hanging Mistakes
Even knowing the rules, certain errors plague DIY picture hangers. Avoid these pitfalls for foolproof results every time.
Don’t do this:
❌ Hanging art too high: The #1 mistake—makes rooms feel disconnected ❌ Ignoring furniture relationships: Art floating 15 inches above a sofa looks wrong ❌ Eyeballing instead of measuring: “Looks about right” rarely is right ❌ Forgetting to account for the wire: Results in art hanging several inches too low ❌ Using inadequate hardware: Heavy frames need proper anchors and hooks ❌ Not checking level: Crooked art undermines even perfect height ❌ Centering on the wall instead of the furniture: Creates awkward asymmetry
When in doubt, measure twice, hang once. The few extra minutes of preparation prevent frustration and extra nail holes.
Use These Pro Tools For Perfect Results
The right tools make picture hanging infinitely easier. Invest in these essentials for professional-level results.
Must-have tools:
- Measuring tape (25-foot length recommended)
- Pencil (for marking walls lightly)
- Level (4-foot level for larger pieces, small torpedo level for smaller)
- Painter’s tape (for the template method)
- Picture hanging kit (variety of hooks and nails for different weights)
- Stud finder (for heavy artwork requiring wall anchors)
- Laser level (optional but amazing for gallery walls)
Optional but helpful:
- Picture hanging ruler/tool (pre-marked at 57 inches)
- Command strips (for renters or no-damage hanging)
- Hanging wire or D-rings (if frames don’t have hardware)
Quality tools don’t have to be expensive, but they make the difference between frustrating guesswork and confident, accurate placement.
Ready to hang your art at perfect height every time? Start with the 57-inch rule, use the tape template method if you’re nervous about math, and always adjust for furniture relationships. Remember: measure twice, hang once, and trust your level even when your eyes play tricks on you. Save this guide for your next picture-hanging project—your walls are about to look professionally curated! 🖼️✨