
A chandelier can make or break a dining room. Hang it too high and it floats disconnected, like an afterthought. Hang it too low and every tall guest is ducking for cover before dessert. Get it just right, though, and something almost magical happens — the light pools perfectly over the table, the room feels anchored and intentional, and suddenly your entire dining space looks like it was designed by a professional. The good news? Nailing that perfect height isn’t guesswork. There’s a simple formula, a handful of rules, and a few pro tricks that make it completely doable — even if this is your first time doing anything with a ceiling fixture.
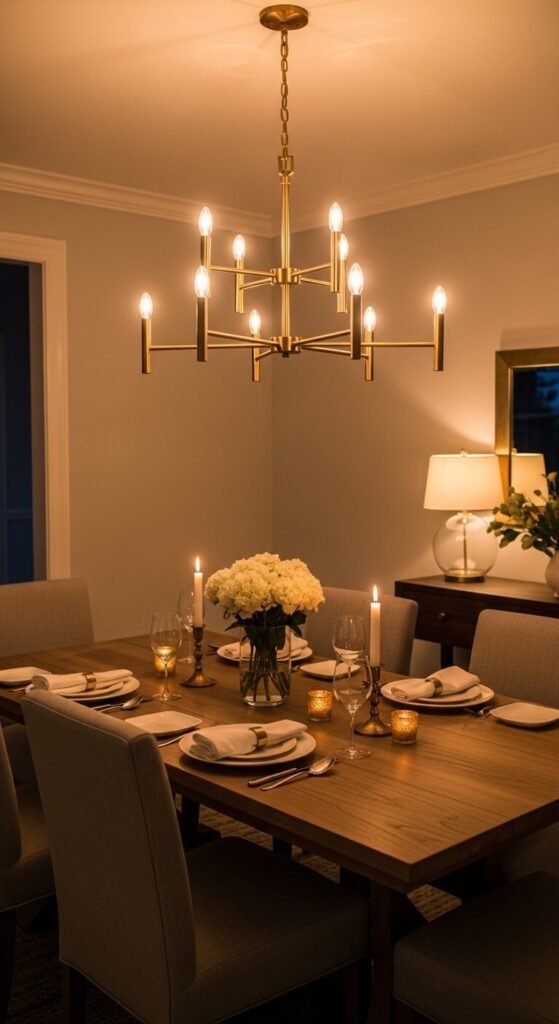
Let’s walk through exactly how to hang a chandelier at the right height so it looks like it was always meant to be there.
The Golden Rule: How High Should a Chandelier Hang?
There’s one measurement every interior designer and electrician agrees on, and it’s the foundation of everything else in this guide.
Over a dining table, the bottom of your chandelier should hang 30 to 34 inches above the tabletop.
That’s it. That’s the sweet spot. Here’s why it works:
- It’s low enough to create an intimate, defined atmosphere over the table
- It’s high enough that no one seated or standing nearby will hit their head
- It allows the light to fall directly onto the table surface where you actually need it
- It creates a visual connection between the fixture and the furniture beneath it
This measurement applies to standard 8-foot ceilings. If your ceilings are higher — which is increasingly common in newer homes — you’ll need to adjust upward. The general rule is to add 3 inches of height for every additional foot of ceiling height above 8 feet.
So for a 9-foot ceiling, aim for 33–37 inches above the table. For a 10-foot ceiling, 36–40 inches. For soaring 12-foot ceilings, you have real flexibility — but never go higher than 48 inches above the table or the fixture will feel completely disconnected from the space below.
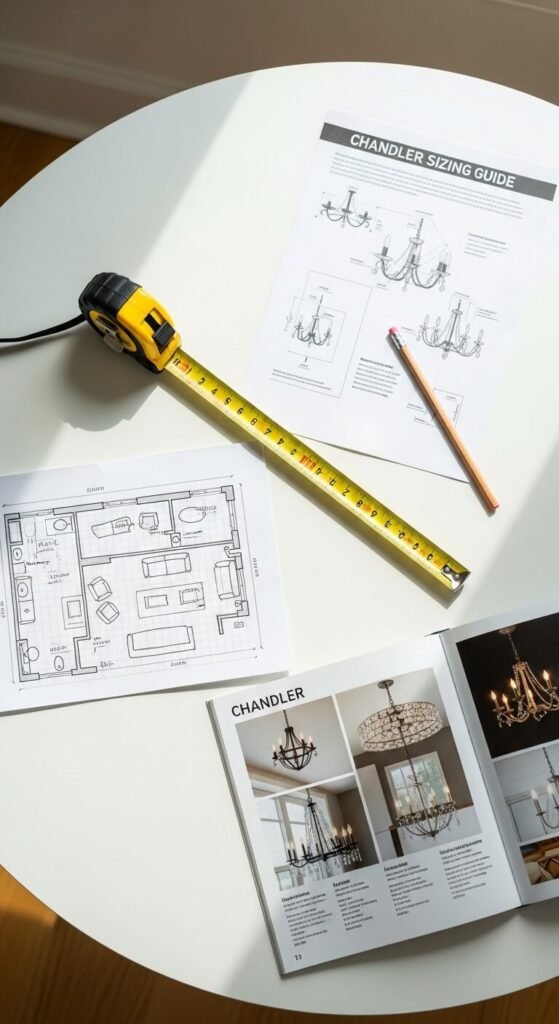
How to Measure and Mark the Right Height
Before you touch a single wire or mounting bracket, grab a tape measure and do this first.
What you’ll need:
- Tape measure
- Painter’s tape or a sticky note
- A helper (highly recommended)
- Pencil
Step-by-step:
- Measure your table height. Most dining tables sit between 28–30 inches tall. Add that to your target drop distance (30–34 inches) to find the total height from the floor to the bottom of your chandelier. For a standard table, that’s typically 58–64 inches from the floor.
- Mark that height on the wall near the table with painter’s tape so you have a visual reference while working.
- Have a helper hold the chandelier at that height while you step back and look at it from across the room. This simple step saves so many headaches — seeing it in place before committing is everything.
- Adjust your chain or rod length accordingly before mounting. Most chandeliers come with extra chain links or a longer downrod than you’ll need — this is where you customize.

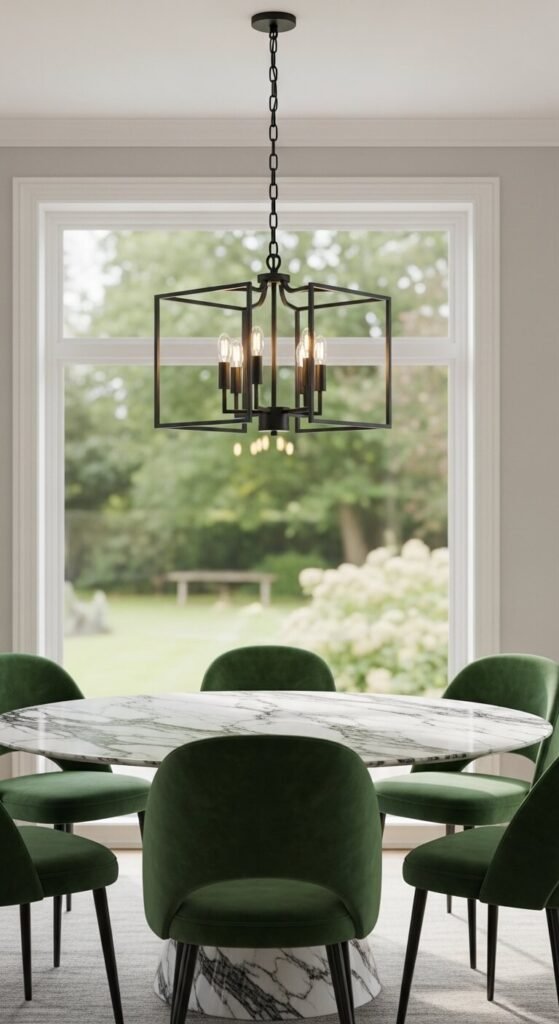
Getting the Width Right Too
Height is the most critical measurement, but width matters just as much for visual balance. A chandelier that’s too small for the table looks like a pendant light having an identity crisis. One that’s too wide overwhelms everything beneath it.
The rule for chandelier width:
- Your chandelier’s diameter should be roughly half to two-thirds the width of your table
- For a 60-inch round table: aim for a chandelier 30–40 inches wide
- For a 72-inch rectangular table: a 36–48 inch wide fixture (or a linear chandelier) works beautifully
- Always leave at least 12 inches of clearance on each side between the chandelier’s edge and the table’s edge
For rectangular tables specifically, a linear or elongated chandelier almost always looks better than a round one — it mirrors the shape of the table below and creates a cohesive, intentional look.
Common Chandelier Hanging Mistakes to Avoid
Even with the right measurements in hand, a few easy mistakes can throw off the whole look.
- Hanging it centered in the room instead of centered over the table. If your table isn’t perfectly centered in the room — which is more common than you’d think — your chandelier should follow the table, not the ceiling.
- Skipping the visual test. Always have someone hold the fixture at the planned height before hardwiring it. What looks right on paper doesn’t always look right in the room.
- Ignoring the ceiling height adjustment. The 30–34 inch rule is for 8-foot ceilings only. Forgetting to scale up for taller ceilings is one of the most common mistakes in chandelier installation.
- Choosing a fixture that’s too small. When in doubt, go slightly larger. A chandelier that’s a little generous reads as intentional and bold. One that’s too small just looks like a mistake.
- Not accounting for table movement. If your dining table extends with leaves, measure for the extended length so the chandelier still looks right for larger gatherings.
Installing the Chandelier: What to Know Before You Start
Once your measurements are confirmed, here’s what the actual installation involves.
If you’re a confident DIYer:
- Turn off the circuit breaker — always, no exceptions
- Use a stud finder to locate the ceiling joist or install a chandelier-rated ceiling medallion and brace
- Follow the manufacturer’s wiring diagram closely
- Have a helper hold the fixture while you make connections — chandeliers are heavier than they look
If you have any doubt at all — call an electrician. Chandelier installation involves live wiring and ceiling load-bearing concerns that aren’t worth guessing on. Many electricians will install a fixture you’ve already purchased for a flat fee, and the peace of mind is well worth it.
One Measurement, Endless Impact
A chandelier hung at the right height doesn’t just light a room — it defines it. It creates atmosphere, draws people in, and quietly signals that every detail in this space was considered. And now you have exactly the measurements and know-how to make that happen in your own home.
Save this guide before your next lighting project, share it with someone mid-renovation, and remember — the difference between good and great is often just a matter of inches. 🕯️✨